Background to the problem
Is your Hikvision camera offline? Does it keep losing settings and resetting its IP address each time there is a power cut? Then read on…
There are 5 of these cameras in our household, all bought direct from China via AliExpress. They are great cameras and in the case of 4 of them, have been completely reliable.
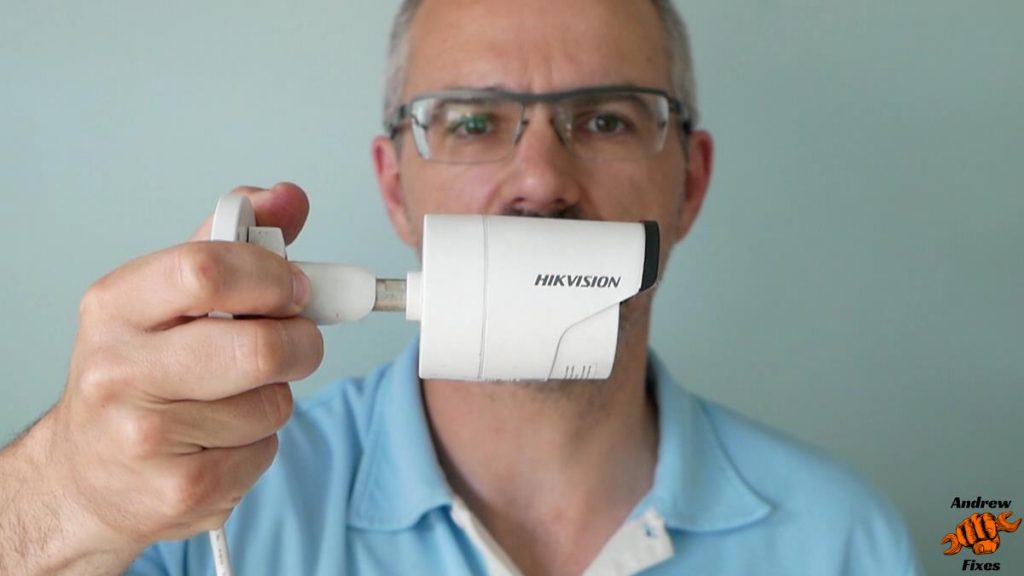
The camera that prompted me to write this article has caused a lot of frustration. It’s a Hikvision DS-2CD2042WD-I IR mini bullet network camera. Every time there was a power cut, it would lose all the settings, essentially the equivalent of a factory reset.
I’d been wondering if there was a firmware problem, or if it was a duff camera that needed to be replaced. I’d tolerated this fault for longer than I realised and by the time I decided to do something about it, the camera was out of warranty. There has been a firmware problem with these cameras, but when searching around the internet for solutions I came across a post from someone describing a manufacturing fault leading to the reset button being permanently pressed. The result being that each time the camera loses power, it resets itself. This sounded more like what was going on with my camera, so I decided to have a go at fixing it.
Tools required
- Small Philips screwdriver.
- Small flat blade screwdriver, pry tool or spudger.
- Tweezers.
- Earthing wrist strap to avoid static damage to the circuit boards and components.
- Silicone grease for the gasket.
Initial inspection
I took the camera down from its perch on the garage and had a look at the reset button on the back. Some other users had described the reset button appearing to be wedged in position, indicated by the black rubber button press being stuck at an angle in the camera housing. That wasn’t the case here, but pressing the reset button with a pencil did not yield the usual click that a microswitch would give when pressed. On finding this, I thought it was probably worth investigating further.
Dismantling the Hikvision DS-2CD2042WD-I camera
- Loosen the mounting ball joint so it can be moved around to allow better access to the screw holes.
- Remove the 3 Philips head screws.
- Separate the camera body.
- Disconnect the ribbon cable and small plug from the PCBs, to enable the 2 halves of the camera to be separated completely.
- Unscrew 3 screws holding the top circuit board in the back section of the camera.
- GENTLY lever it up, it is plugged into another board underneath.
- Unscrew 3 screws holding the bottom circuit board in the back section of the camera. Gently lever this board up and remove.
At this point you’ll be able to see if your camera has a reset button issue. In my case, the wire holder was only holding half of the wires in place, and one of the wires (red) had a clear indentation in the insulation, where it had been pressed against the reset button. I was pleased to find this, because I knew the reset button had been pressed permanently by this wire, causing the camera to reset to factory default every time power was restored after a power cut.

If you’ve got this far and found the same issue in your Hikvision camera, you’ll need to undo 2 more Philips screws to remove the wire clip (which is also the plate holding the reset button gasket in place).
Remove the plate, gently encourage all the wires back into the channel where they should have been all along, then screw the plate back into position, making sure none of the wires are pinched under the plate. I reached for the tweezers at this point!
Putting it all back together
Reverse the dismantling steps to put it all back together.
Be particularly careful with:
- Ensuring the reset button gasket stays in place and is clamped down evenly when replacing the cable clip.
- Pressing the upper circuit board down into the connector on the lower board.
- Putting the ribbon cable back in. Make sure it goes in square and push each end of the cable clamp down a little at a time.
It is probably a good idea to apply some silicone grease to the gasket between the two halves of the camera. I didn’t on the video, but went back to do this later before putting the camera back on the garage.
That’s it! Thanks for reading and I hope this was useful for you. If you’ve done the same fix to your camera, let me know how you got on in the comments below.