Is your Bosch washing machine not heating water? The same thing happened to my Mother recently. By the time she told me about it, she’d already decided to get rid of the machine and ordered a new one. She was also going to pay £30 to have the old one taken away. I offered to take it off her hands and save her the £30!
In this post I’ll take you through diagnosing the fault and fixing it….which on this occasion turned out to be replacing the heating element. I did this job on a Bosch WAE24464GB/03, but I’m sure the process described would be similar for many other models.
Tools required
- 10 mm spanner or socket and ratchet. I use a Teng 10mm angled ratchet spanner.
- Multimeter.
- Set of Torx bits or drivers. I use Torx bits with a Facom R.180 compact ratchet and extension.
- Screwdriver or pry bar to remove the heating element if required.
Working out why your Bosch washing machine is not heating water
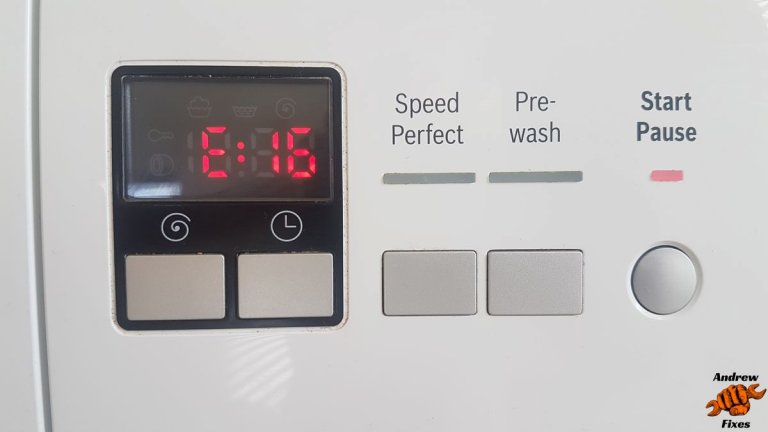
The first thing I did was to verify the fault. I like to do white goods testing outside if possible, just in case something major has gone wrong and there is a fire or water leak. In case you think that’s over the top, I have had a fridge start smoking before (not as a result of my work)! So I washed some old clothes on a 60 degree wash and indeed the water was cold throughout.
Now it’s time to take things apart! Thinking about the Bosch washing machine not heating water step by step, the problem could be:
- Open circuit heating element.
- Fault with temperature sensor (telling the machine the water is hot when it isn’t.
- Problem with the wiring to the heating element or control circuits.
- Fault with the relay switching power to the element, or in the relay control circuit.
Removing the front of the machine
Getting to the heating element and temperature sensor required removing the front of the machine, which is a bit of a faff but not too difficult. I raised the machine off the ground on some blocks of wood, then did the following:
- Open and remove the flap at the bottom right corner.
- Drain the water using either the hose provided (if there is one) or by unscrewing the cover on the pump impeller.
- Remove the Torx screw holding the lower panel in place.
- Slide the panel to the right and remove. Thread the drain hose back through its hole.
- Remove 2 Torx screws holding the bottom of the front panel in place (revealed now the lower panel has been removed).
- Take the door off by undoing 2 x Torx screws holding the hinge in place, then sliding the hinge upwards.
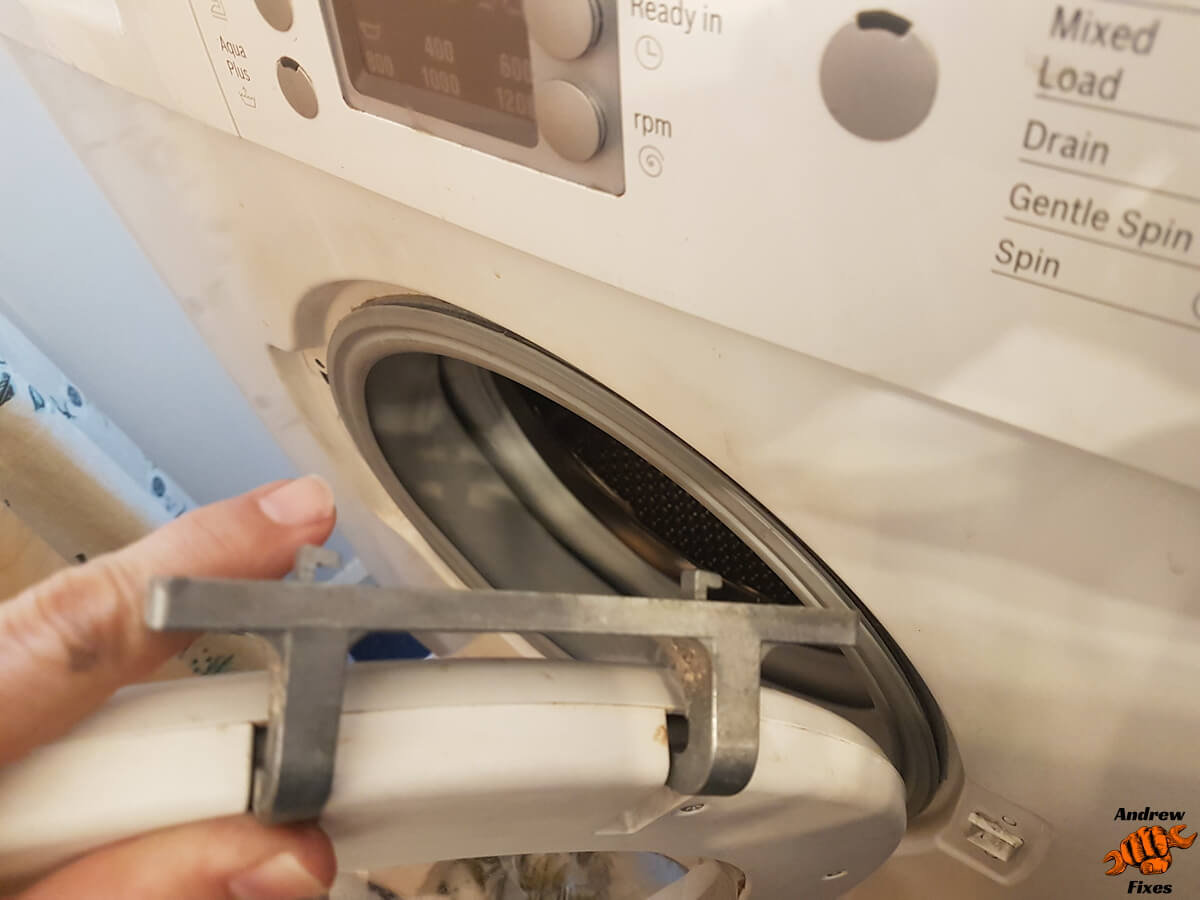
- Remove the door seal retaining clip by locating the spring and levering it over the outer lip of the seal. Be careful not to damage the seal.
- Pull the seal away from the front panel and poke it inside so it doesn’t catch when the panel is removed.
- Remove the detergent drawer.
- Undo the Torx screw at the bottom right of the detergent drawer opening.
- Slide the front panel down slightly and move it away from the machine.
- Disconnect the connector to the door sensor.
- Remove the panel completely.

Screw holding lower panel in place 
Slide panel to right 
Lower panel 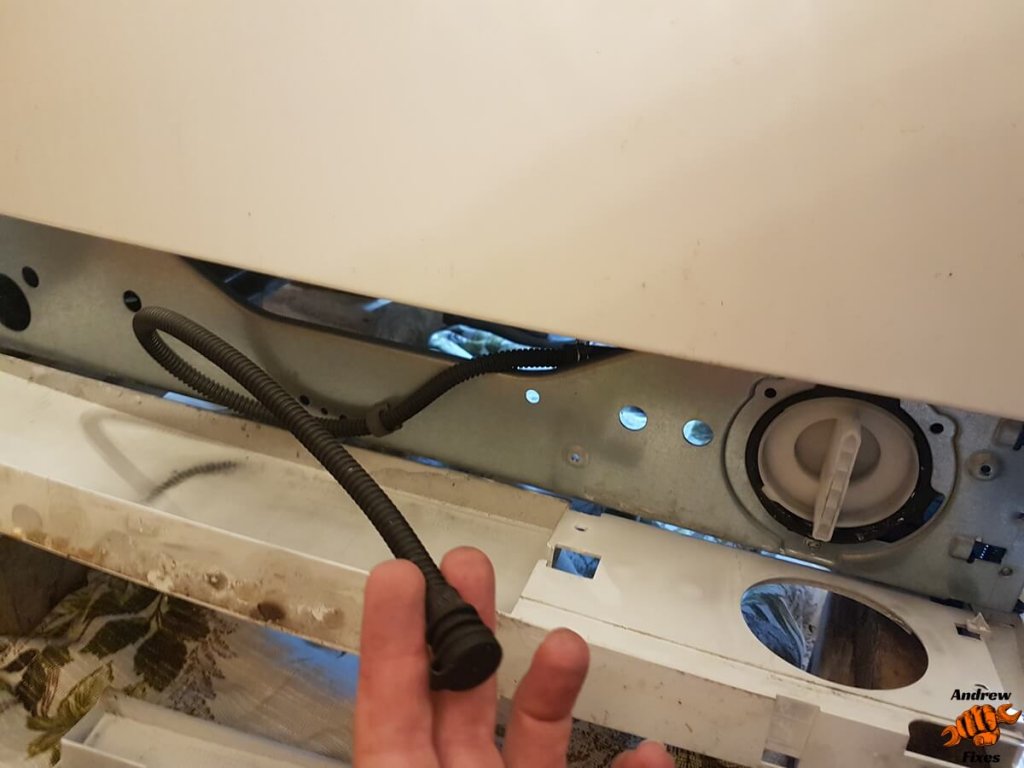
Thread hose back through and remove 
Lower left screw (with white metal behind) 
Lower right screw (with white metal behind) 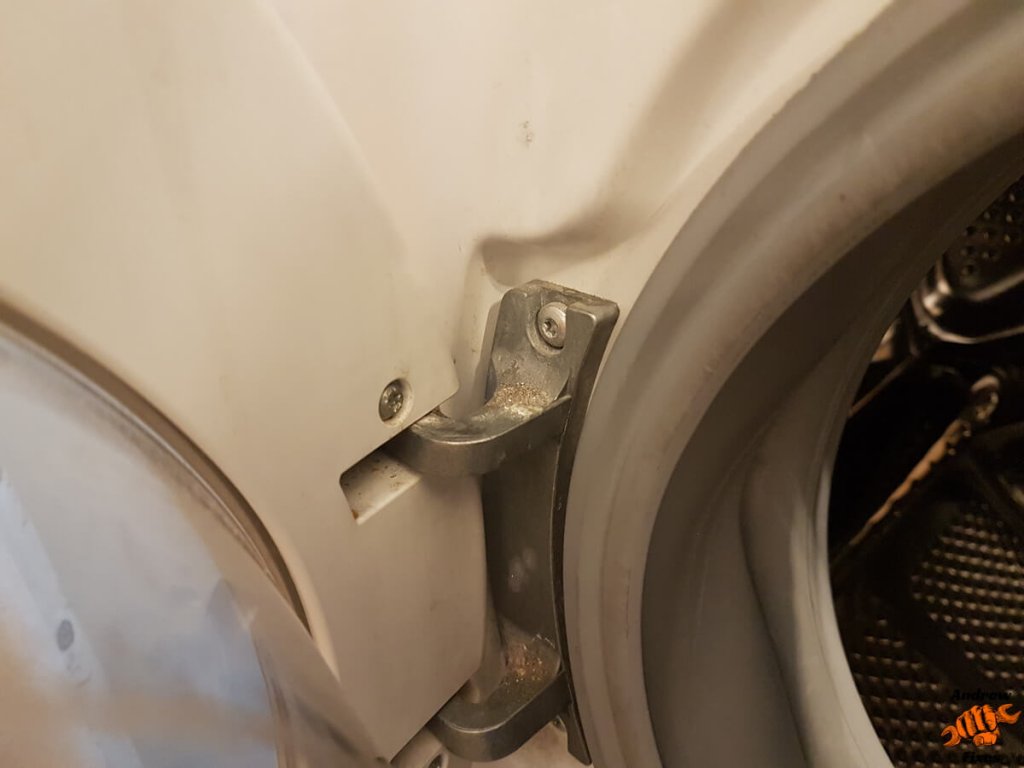
Door hinge 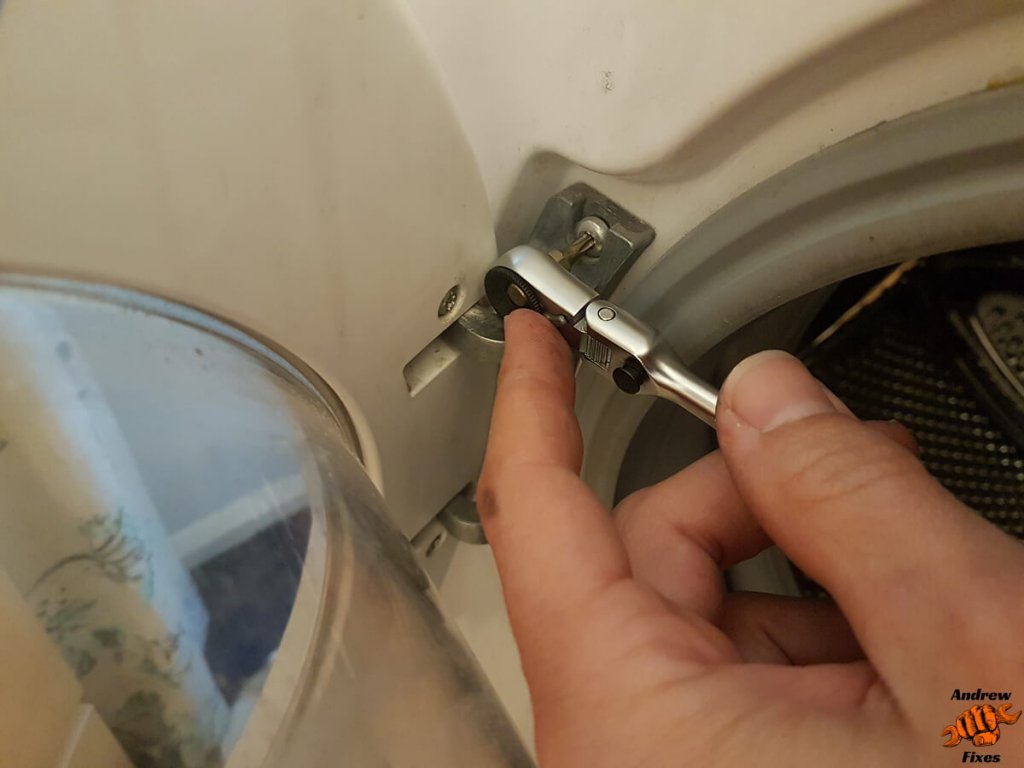
Removing door hinge 
Door hinge tangs 
Door seal clip 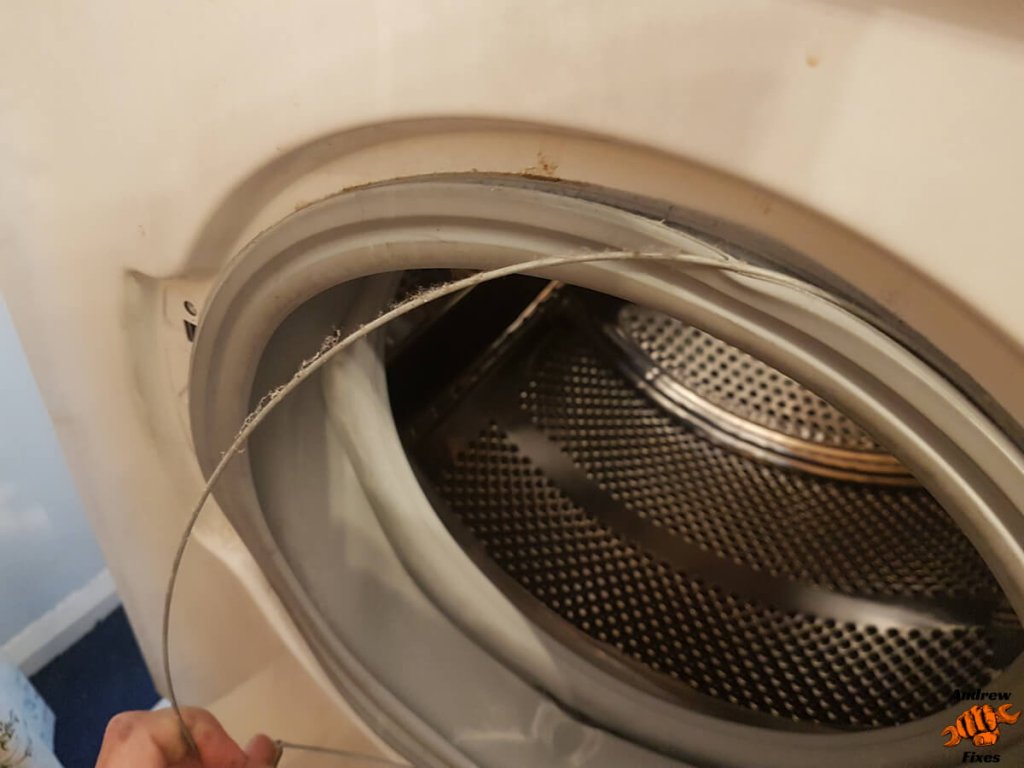
Removing the clip 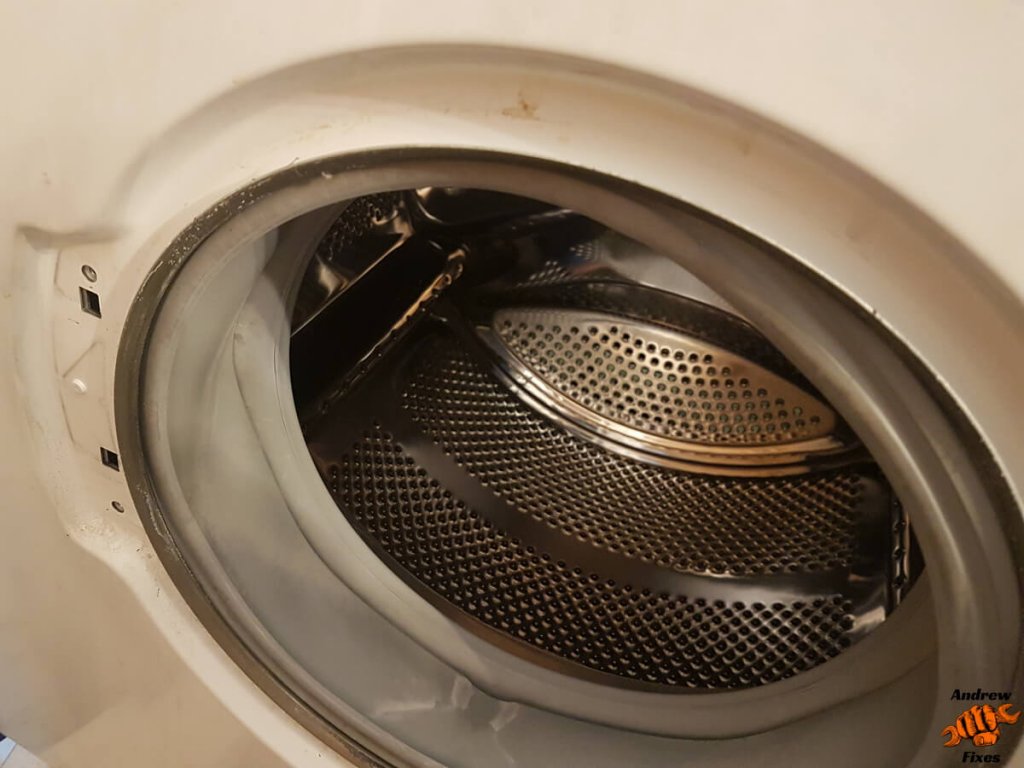
Pushing gasket back through 
Upper front panel screw 
Door switch wiring


Inspection and testing
The heating element is at the bottom of the drum. Have a look at the wiring to check for loose connections and signs of damage.
Take a picture of the wiring before disconnecting anything.
Remove the connectors to the heater element. Measure the resistance of the heating element with a multimeter (remembering to check your meter is working first). It should be about 20-50 ohms. In my case, the heating element resistance was infinite (i.e. open circuit), so I knew a new one was required.
However I went on to check the temperature sensor – or more precisely the NTC (negative temperature coefficient) thermistor. The resistance should go down as the temperature goes up.
On the Bosch machine in question, this lives in the housing with the heating element, and is a push fit, so I disconnected it, pulled it out and tested it as pictured. I measured the resistance between the 2 pins (see picture below).
I couldn’t find reference values for the thermistor, but was happy to see a resistance value that decreased as I warmed the sensor in my hand.

Heating element wiring 
Heating element open circuit 
Disconnecting NTC thermistor 
First picture of NTC thermistor testing 
After warming in my hand for a few minutes


If I hadn’t found anything wrong at this point, I’d check for voltage at the heating element with the machine running, as a first step to test the control circuits. This would probably have required connecting up the multimeter leads, then loosely refitting the front panel and door.
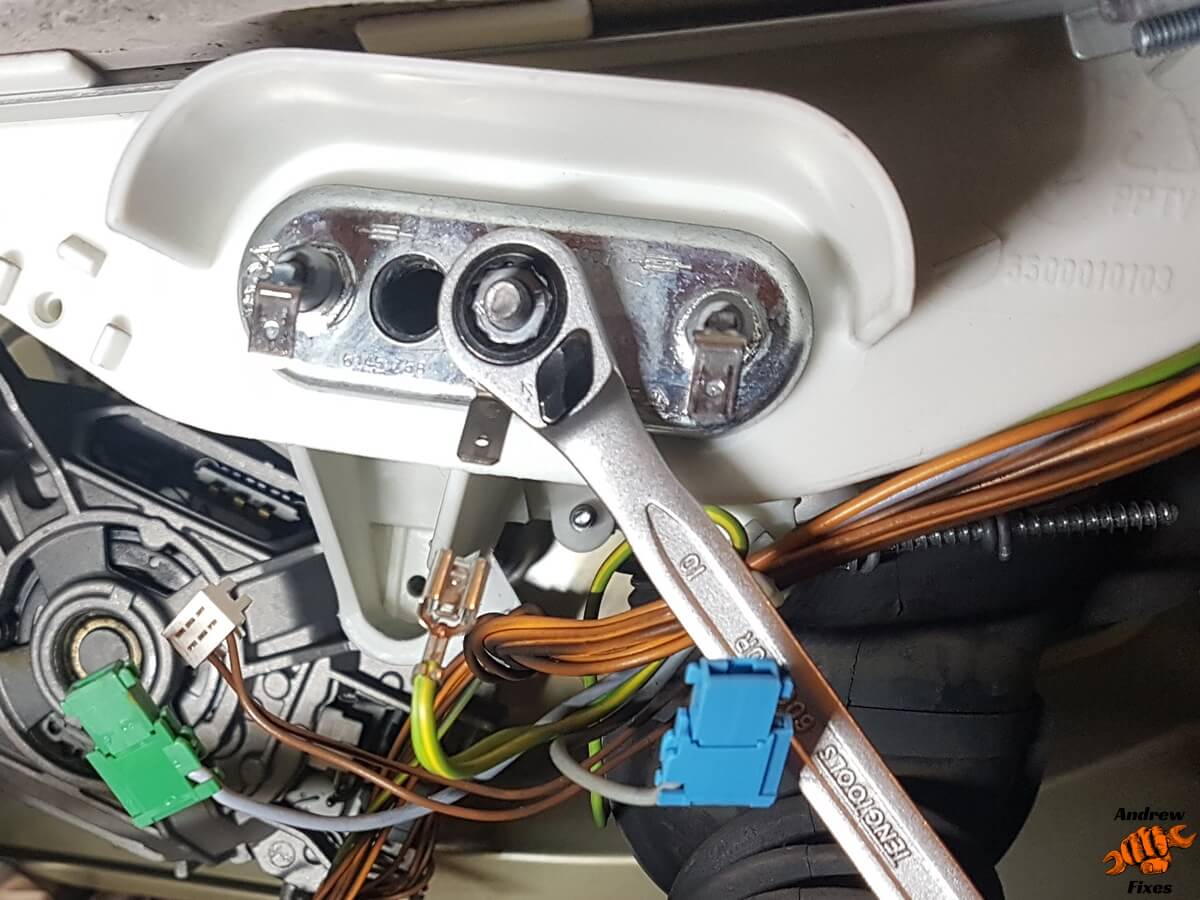
Removing the heating element
The heating element has a built in seal, which is compressed and expanded to make the seal by the nut in the centre of the element.
I loosened the nut and carefully prised the element out of the drum, working on each side a little at a time. It was stuck in there well! At first, the element and front plate came away, leaving the rubber seal behind. I gave it some encouragement with a blunt screwdriver (I call it a bodging screwdriver – everyone should have one).
Having removed the element, I was left with a pile of limescale inside the bottom of the drum. Perhaps a clue as to why it had failed!

Undoing heating element nut 
Prise element away from drum 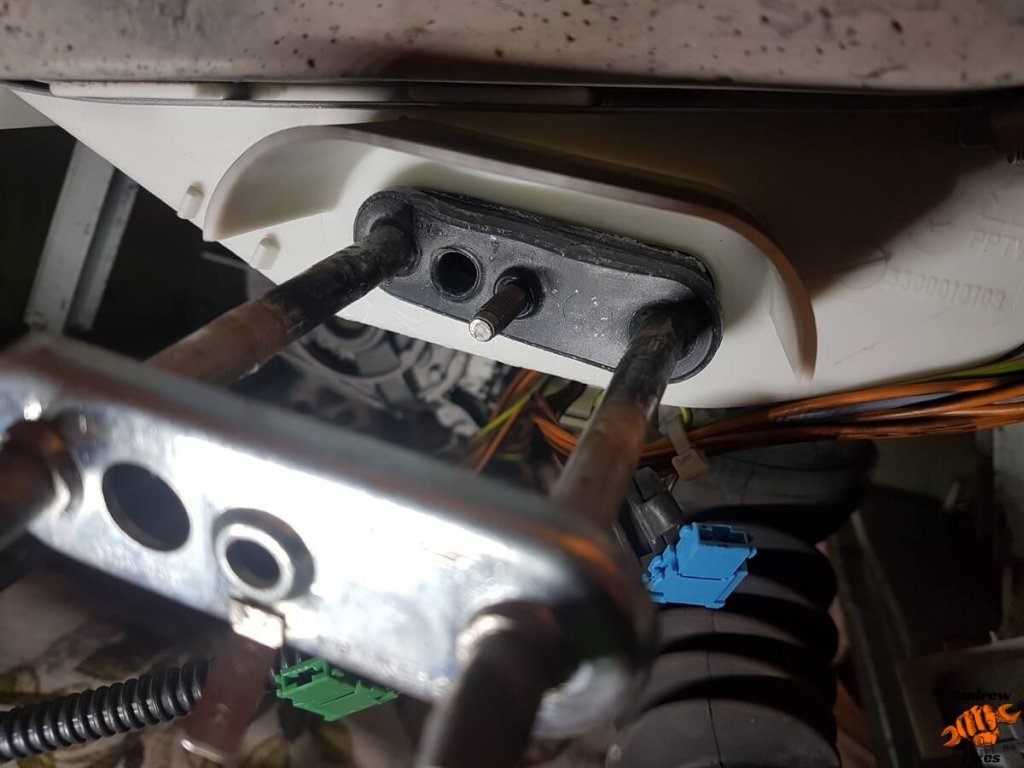
At first, element moved leaving seal behind 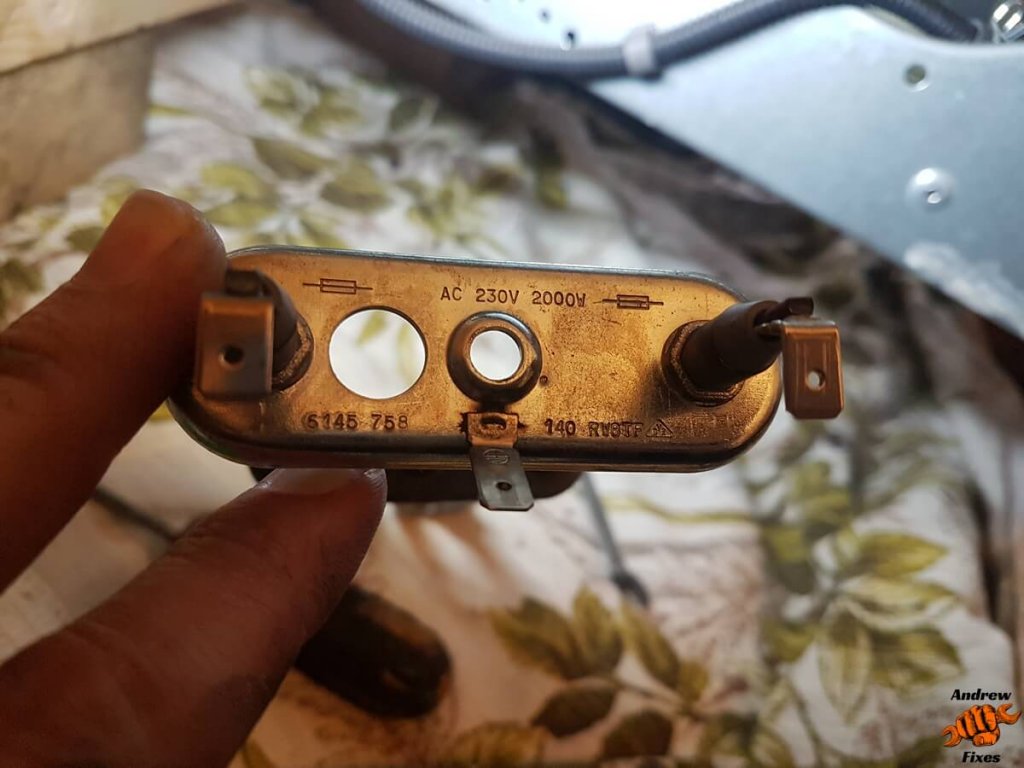
Element removed 
Limescale!


I ordered a replacement element from eBay. They come with a new seal. I paid about £11.
Fitting the new heating element
In preparation for the new element, I vacuumed out the loose limescale and cleaned the hole in the drum to ensure a good seal. I also cleaned the temperature sensor for the same reason.
I chose to fit the temperature sensor into the heating element before fitting the element to the drum. This is done by pushing it in as far as the outer metal flange will allow.
Then insert the element and tighten up the nut. As you tighten, make sure the seal stays in position square on to the drum and is making even contact all round. You may need to push the temperature sensor in again – compressing the rubber seal may cause it to be squeezed out.
Put it all back together & see if your Bosch washing machine is heating water again
Refit the front panel, making sure you reconnect the door sensor first.
Take some time to get the door gasket seated properly and take care when reinstalling the gasket retaining clip.
Hopefully you don’t have any screws left over!
Time for a test wash. I was really pleased to feel the water in the machine getting hot and everything working like it should. I checked for leaks under the machine and was pleased to see there weren’t any. A fully working Bosch washing machine for £11 in parts and the fuel to go and collect it 🙂
I hope you get your washing machine working again too!

Many thanks for your clear and concise instructions and pics. It was a great help to repair the washer.
That’s great to hear Roger, thanks for taking the time to say so.
I too have only cold water. I replaced both heating element and thermostat thingy. Alas still not working. Assuming the replacements were fine I guess I have a wiring or PCB issue. Thoughts?
Yes I agree. It would be worth checking all the connections at the PCB first I think. I’ve just repaired another Bosch washing machine with a different problem, which seemed to be caused by contamination on one of the PCB connectors. After the connections I’d check the wires as they’ll be cheaper to replace than the PCB!