This Islabikes Cnoc 14 brake repair was needed when the front brake became unsafe: I noticed the noodle on the front brake would slip through its mounting point when my Son put the brakes on. This caused the brake arms to spring apart and a complete loss of use of the front brake. You can see what I mean in this video:
I’m a big fan of Islabikes and of buying secondhand bikes in general, so no surprises for guessing that my Son’s first bike was an Islabike. One of the things I really like is how repairable they are. And because they hold their value so well, the repairs are generally worth doing and doing well.
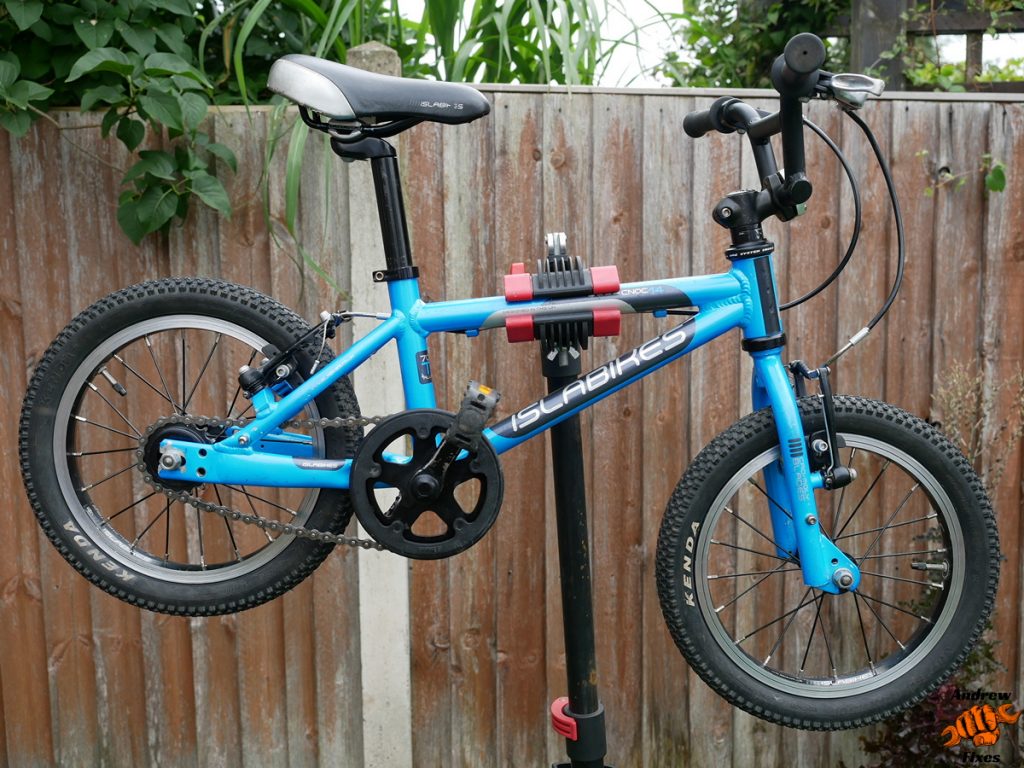
The subject of this article was an Islabikes Cnoc 14 large. It was the old model, i.e. before April 2016. As far as I’m aware the brakes on this bike are similar if not identical to those on the current model. They are made by Tektro.
Tools used for this job
I used the following tools for this job.
- T handle Allen keys. I wouldn’t necessarily recommend the brand you see me using in the video (I got them free when I bought a bike some years ago). If I was buying some now I’d probably go for some Unior ones.
- Bahco side cutters
- Grease
- Brake cleaner in a pressure sprayer
- Rags and old toothbrush
- Fresh engine oil in an oil can to lubricate the cable.
I haven’t listed the bike stand – it was a cheap one from Lidl. Works OK for smaller bikes like this but I’d like the clamp to be more sturdy for working on larger bikes.
The search for replacement parts
My first attempt in this Islabikes Cnoc 14 brake repair was to look for a replacement mounting point for the noodle. I couldn’t find one readily available for sale, so my next plan was to buy a single replacement brake arm. This proved more difficult / expensive than I’d expected.
Whilst searching for a new Tektro arm, I noticed there were loads of Avid single digit 3 V brakes for sale. I found a virtually unused pair of Avid SD3 arms with new brake blocks / pads at a very reasonable price on eBay.
The bike already had its fair share of battle scars, so I wasn’t too bothered about it having non-matching brake arms, as long as they worked properly.
Fitting the new parts
How to fit new brake arms
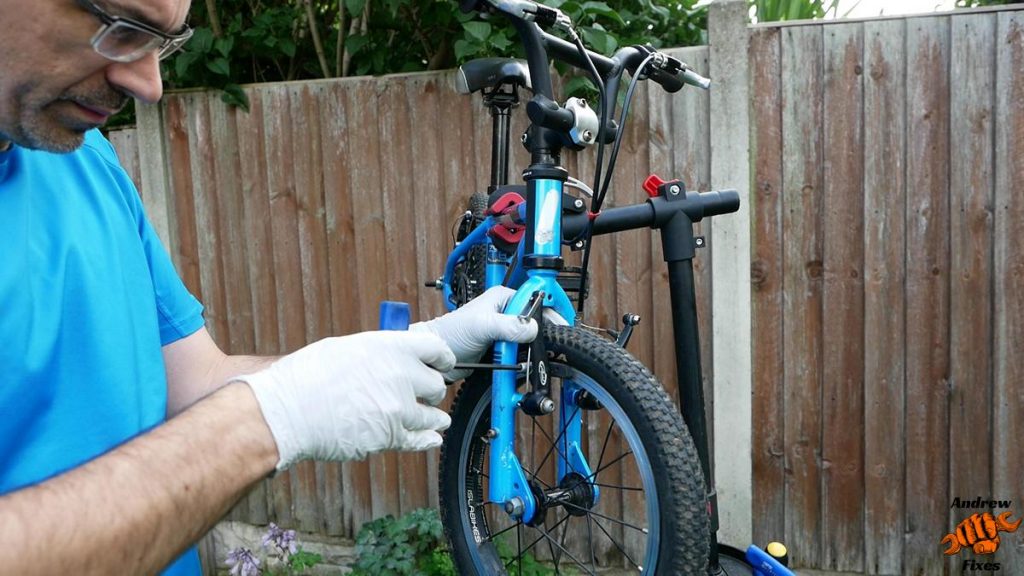
This is fairly straightforward: undo the 5mm allen bolts holding the arms in place and remove the arms by sliding them forwards off the mounts. There is a tab with 3 holes next to each mount. Take note which hole was being used to hold the spring in place. It is almost always the middle one. When fitting the new arms, it is important to use the same hole for both sides, otherwise you’ll make adjusting the brakes really hard.
Clean and grease the mounting points and corresponding holes on the brake arms. It is important that the arms can move freely on their pivots, otherwise the brakes won’t release properly.
Tighten up the bolts. I did them up about as tight as I could with the T bar allen / hex key. The arms should still move freely once the bolts are tight.
How to fit the brake shoes / pads
I did this after fitting the arms to the bike but the order doesn’t matter, you might find it easier to do before fitting the arms.
If the old shoes have worn evenly and have some life left in them (i.e. there are still visible gaps between the blocks of friction material), I’d usually refit them. If they have worn unevenly, fit some new ones – they aren’t too expensive.
The shoes are mounted to the arms with spacers that allow adjustment of the angle of the shoe as well as the distance from the shoe to the rim. There is a thick spacer and a thin spacer. You might need to change the order of the spacers for your bike, but for me it was a straight swap.
Don’t tighten the shoes up at this stage, we need to adjust their position first.
Islabikes Cnoc 14 brake adjustment
Please take your time with this! I’ve seen so many bikes with badly adjusted brakes and there is absolutely no need for this.
Brake Shoes
We need to make sure that the whole of the brake shoe surface contacts squarely with the wheel rim, and that the brake shoes don’t:
- Rub against the tyre.
- Slip off the rim (towards the centre of the wheel) when the brakes are applied hard.
- Rub against the wheel rim when the brake lever is released.
Before you go any further, make sure your wheel is straight in the frame / forks. Give it a spin and check for radial and lateral trueness….or in other words, is it wobbling from side to side or up and down. If the wheel isn’t straight, getting the brakes to work properly will be hard.
- Hold one of the brake arms in place so the shoe is touching the braking surface of the rim.
- Move the shoe around until the entire surface of the shoe is touching the rim in the centre of the braking surface.
- Tighten the shoe mounting nut with your other hand. The shoe might start to twist as you do this, and if it does, this will mess up your adjustment.
- Do the same with the other side.
Brake cable
With the brake shoes in place, the next step is to refit the brake cable. Lubricate it first.
- Screw the adjuster on the brake lever all the way in to the lever.
- Make sure the ferrules on the ends of the outer cable sheath are pushed all the way on to the cable sheath.
- Then make sure they are pushed all the way in to the adjuster at the lever end and the noodle at the brake arm end.
- Fit the rubber boot over the cable.
- Thread the end of the cable into the clamp and tighten the clamp slightly, but not enough to stop the cable moving freely. Make sure the cable is in the groove!
- Insert the noodle into its mount.
- Pull the inner cable with one hand, until the brake arms are pulled in and the shoes are close to the wheel rim.
- Tighten the cable clamp on the brake arm.
- Test the lever action.
If the lever comes all the way back to the handlebar, you may need to release the cable clamp and pull more cable through. If the lever is nearly right, you can take up some slack in the cable by screwing the adjuster on the lever out (away from the body of the lever).
Balance
Once the brake lever action feels good, the next thing to look at is the balance. By this I mean making sure both arms come on and release at the same time.

Each arm has a small adjuster screw on the side, which sets the spring tension.
Apply the brakes and watch the arms move towards and away from the wheel. Are they both moving the same amount? If not, we can either increase the spring tension on the side that is moving less, or decrease the spring tension on the side that is moving more.
Keep making small adjustments until both arms are moving in and out by the same amount when the brakes are applied and released.
Final check and test ride
With everything back together, it’s time to check your Islabikes Cnoc 14 brake repair! Have you tried to ride a Cnoc 14? I’m 6ft tall and I must admit it was quite a challenge! Easier on the Cnoc 16 🙂

Check the brake shoes are still making full contact with the rim. Spin the wheel and check they aren’t rubbing against anything when the brakes are off. And about the test ride….if like me that ain’t going to happen for you, just try pushing the bike hard with the brakes on hard. You’ll get a good idea of whether you’ve got the adjustment right.
Great article – you have just got my daughter back on the road! Thanks!
Great! Pleased to hear it. Thanks for letting me know.
Thanks for the article – I have brought an old rusty cnoc16 back from the brink after years rusting in a shed and spray painted it (gold as requested) for my daughter.
Last stop is brake cable replacements.
I have never repaired a bike before (or replaced cables) so my apologies for stupid question – but do you know if any cable will do – is there a specific make/brand that work best with isla bikes – and can I just get a normal universal set (like Clarks etc) and cut it down to size?
Thank you!
Hi
Great to hear – I’ve never seen a gold one! Any universal cable set (like the Clarks one) should be fine. Just remove the old one at the lever end and check the replacement you plan to buy has the same type of end. Most universal sets have both types of end and you just cut off the one you don’t need.
Cheers
Andrew
https://www.tredz.co.uk/.Tektro-926AL-Mini-V-Brake_82029.htm
Hey great work, do you think this will fit too?
Thank you Sam. They look like a good option, just check the length of those arms matches up with the ones on the bike before ordering. The Tektro arms weren’t available at a reasonable price when I did the repair!
Will do thanks for the response