You’re pressing on up a hill, but it’s getting steeper so you shift into your last remaining gear. Suddenly things get a whole lot harder and you grind to a sudden halt. Falling off is optional at this point. You know what’s happened without even looking. The chain has shifted off the top of the rear cassette and is jammed between the cassette and rear wheel spokes. It may be time to look into bicycle spoke replacement at this point – it certainly was for me, hence this article.
I’m going to take you through the process I followed to fix my crunched spokes. This article doesn’t just apply to spoke damage from chain over shift: it’ll also apply if you’ve actually got a broken spoke.
My wheel building experience
I’ll tell you a little bit about my bicycle wheel building experience at this point. I’ve built 3 sets of bicycle wheels, the set being worked on in this article were the first. I’m pleased to report that they’ve covered many miles without fault before this minor indiscretion with the chain. They have never needed adjustment or maintenance work since being built, nor have the other wheels I’ve built. I mention this not as a brag, but to let you know that while I’m not an expert level wheel builder, I do have some relevant experience!
I learnt almost everything I needed to work on wheels from an excellent book called WheelPro. I can highly recommend this book if you’d like to learn how to build your own wheels, as it helped me build 3 sets of wheels and I’m sure it will continue to help me build many more.
Assessing the damage – is bicycle spoke replacement actually needed?

The first thing I did was assess the damage and decide whether the spokes needed replacing at all. There is an argument for just carrying on riding the bike and seeing what happens. However I decided that if the spokes were to break, this would almost certainly happen at the most awkward time and place possible so I opted to replace mine straight away. I had damage on multiple spokes, some worse than others, but I decided as I was having to replace more than one anyway I may as well replace all those with any amount of damage.
Equipment for bicycle spoke replacement
Here’s a list of the equipment I used for this job. I’m was fortunate to have most of it on hand already, having built bicycle wheels in the past.
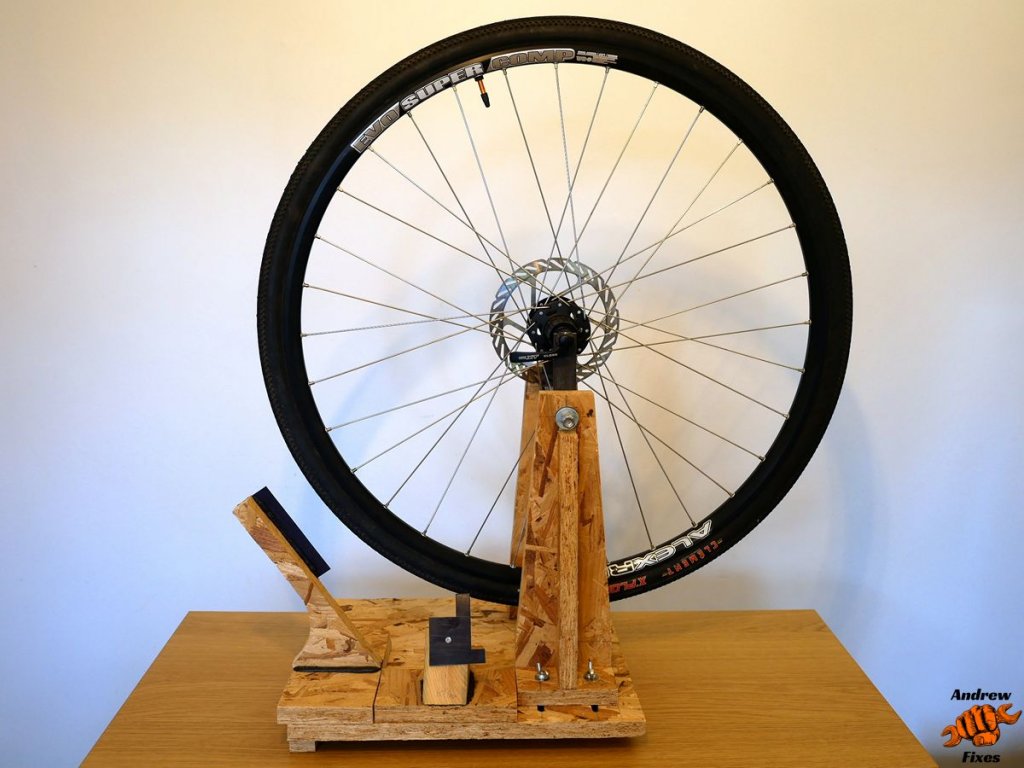
- Wheel truing stand. I built this using some OSB board I had lying around in the garage and plans from the WheelPro book described above.
- Spoke key. My wheels had Sapim Race spokes and nipples so I needed a 3.3mm spoke wrench.
- Masking tape. Any tape will do, it’s for making small flags on the spokes to check whether they are twisting.
- Wheel dish gauge. I made mine from some thin plywood, a metal rod with a 90 degree bend at one end, and some cable ties. See below for a picture.
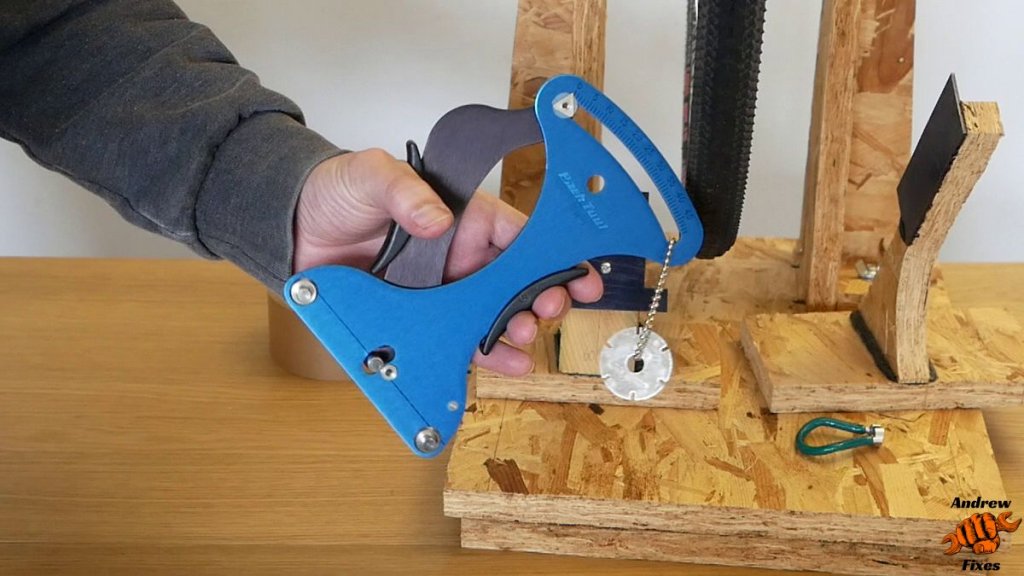
- Spoke tension gauge. This probably isn’t essential if you’re starting with a wheel you trust and know to be good with the exception of the damaged spokes. I bought this when I was building my first set of wheels from scratch because I was concerned about over tightening the spokes as I had no past experience. It has served me well.
Preparing the wheel for spoke replacement
The wheel I was working on was a tubeless setup so the first step was to remove the tyre and the sealant. I had originally planned to remove the tubeless tape and redo it but having inspected it I decided it was in good shape and left it in place. This is the much simpler and less messy option. I wasn’t sure whether I was going to be able to manage loosening and tightening the spoke nipples with the tape in place but it turned out just fine.
With the wheel ready for work I wanted to know so whether it was straight and true before starting. There are three main parameters of interest here:
- Radial trueness – is the wheel a circle.
- Lateral trueness – does it wobble from side to side.
- Dish – is it centred in the frame.
I checked the dish first as this is done with the wheel out of the truing stand. The dish was fine so I put the wheel in the truing stand and gave it a spin. The radial trueness was good but predictably the lateral trueness less so. I decided I wanted to get the wheel back to being as true as possible before dismantling it, so I knew I was starting with a good wheel. I made some adjustments to the damaged spokes to sort out the lateral trueness.
Time to start the bicycle spoke replacement process
Clearly you’ll need some new spokes first! Before ordering new spokes you’ll need to know so the length of spoke you require. This is measured as shown in the picture below.
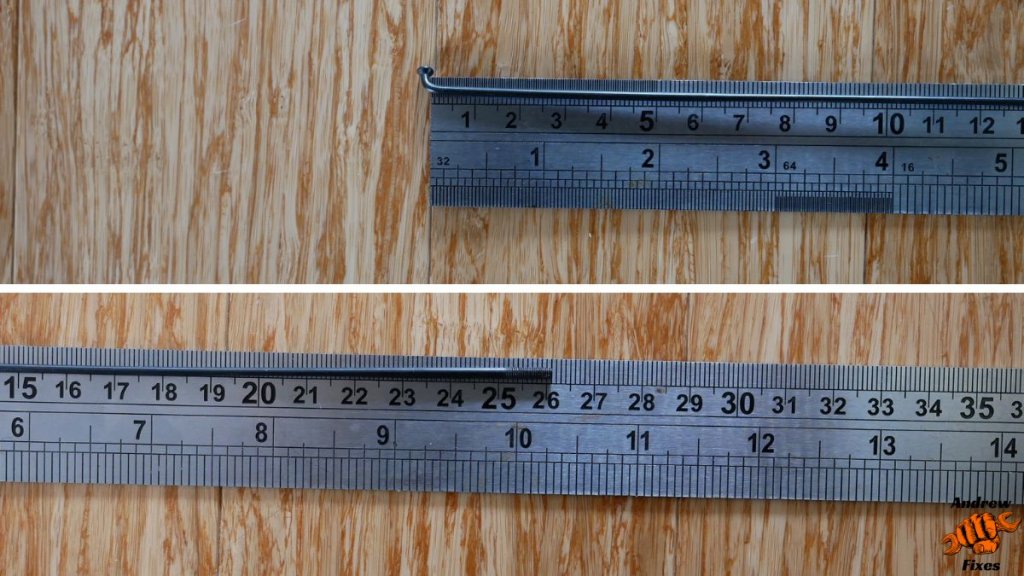
I was fortunate that I still had the build sheet from when I built the wheels, so I knew exactly the spoke length required. If you don’t have this you’ll need to remove a spoke and measure it. If it’s too bent to lie flat for measuring you may need to remove a good spoke. Bear in mind that it may have stretched slightly, although probably not enough to have a big impact on your measurement.
Should you replace one spoke at a time or all at once?
Before embarking on this work I tried to find out if the correct procedure was to rebuild the entire wheel or to replace the spokes one by one. There was a real mixture of answers in the articles I found, which led me to believe that either option would be fine! I decided to replace one by one as I felt it would be less work. Having finished my bicycle spoke replacement I’m glad I chose this option.
Time to remove the first damaged spoke
Start with the the nipple you will be loosening at the top of the wheel. The reason for this is that once the nipple is completely loose and doesn’t have a spoke connected to it, if it’s at the top of the wheel it can’t fall into the rim recess. Particularly important if you left that lovely tubeless tape in place.
Make a mental or actual note (or take a picture) of how the spoke you’re going to be removing crosses over its neighbours, so you can can replace the new spoke in exactly the same pattern. The wheels I was working on were a 3 cross pattern, which means the spoke crosses over 3 others before entering the rim.
Gradually slacken the spoke nipple. This will require a spoke key at first but as it gets looser it can be done by hand. Eventually the nipple will start to disappear into the rim, at which point you need to gently bend and spoke to keep going until it’s completely free from the nipple.
Unthread the spoke from the wheel (further bending will be required). If the overshift damage has bent the spoke, the bend will likely be more pronounced with the tension released.
Fitting the new spoke
Lubricate the threads of the new spoke with a small amount of fresh oil. I use left over new engine oil from car or motorcycle servicing.
Getting the spoke into position
Thread the spoke into position. As with the removal this will require some gentle bending of the spoke, but as long as you’re not bending them so much to kink them, this is absolutely fine. It’s amazing how much bending they can tolerate.
Next is the part that I found most challenging – that being threading the spoke into the nipple without pushing the nipple back into the rim. It might take a few tries to find a method that works for you, I initially tried doing this with my fingers. As I replaced more spokes I found it easier with the spoke key. Have a look at the video to get a better idea of how I did this (see below).
Tensioning the spoke
Keep going until the spoke starts to get tight. At this point to give it a twang and see how it sounds compared to it’s neighbours. Keep going until it has a similar tone to the neighbouring spokes, checking the lateral trueness as you do this.
As the spokes get tighter it’s important to use tape flags to make sure that when you adjust the tension you are actually screwing the spoke into or out of the nipple, rather than just twisting it. The flags also enable you to release any spoke twist after your adjustment.
You could wait until you replace all the spokes before getting the the alignment right, but I tried to get it very close to where I wanted it after each spoke replacement.
With all the damaged spokes replaced you can spend some more time fine tuning the lateral and radial trueness. You’ll be needing to make small adjustments at this stage, 1/4 turn or less.

Stress the spokes
The next step is to stress the spokes and I did this by squeezing parallel pairs of spokes towards each other. Make sure you’re wearing gloves and that your eyes aren’t looking directly at a potential direction of travel of a flying spoke should one break when you do this.
Stressing the spokes is an important step but it may well mess up the wheel alignment a little bit, so recheck the alignment after you’ve done the stressing. Radial trueness first, then lateral.
Equalise spoke tension
After getting the wheel trueness back again, the next step is to equalise spoke tension. It is possible to get a true wheel with widely different spoke tensions, but this wheel won’t be as reliable and long-lasting as a wheel where the spoke tensions are all similar. Note that you won’t be able to get the spoke tensions the same on the drive side (cassette side) and the non-drive side in a rear wheel.
You’re back to plucking spokes for this bit, listening to the tone each spoke makes and adjusting out any particularly high or low tones.
Check the radial and lateral trueness once again after equalising the tension. In my case equalising the spoke tensions made no difference to the trueness.
Check the dish
Remove the wheel from the stand and check the dish. None of what I’ve described above made any difference to the dish of my wheel, I hope the same is true for yours.

You’re (nearly) done!
That’s about it for this bicycle spoke replacement guide. You can watch a video of me doing this repair below. And make sure you adjust your derailleur limit screw so this can’t happen again!
